
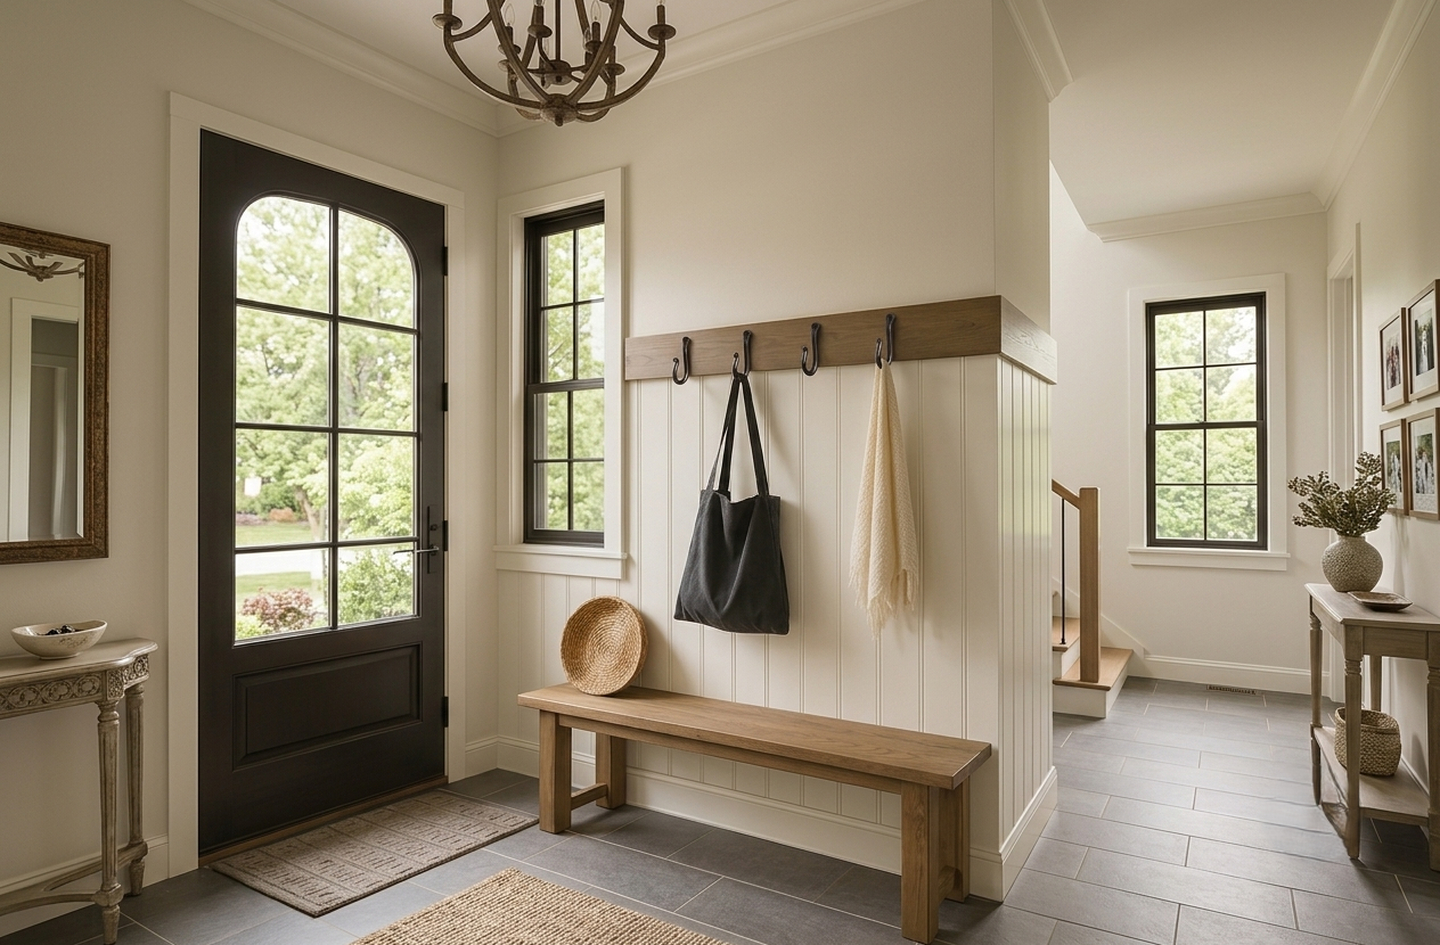
Planning entryway wall hooks for a household with heavy coats and loaded backpacks is a load-bearing exercise as much as a decor decision. A student’s backpack weighs 20 to 30 pounds when full3 – that figure determines which fasteners go into the wall behind each hook. This step-by-step planning guide covers hook height, horizontal spacing, wall backing, and blending adult and child storage in one organized drop zone. For a broader look at choosing and mounting options, see the guide to heavy-duty wall hooks.
Quick Answer
How do you plan entryway wall hooks for a heavy-duty drop zone?
Mount adult hooks at 60 to 65 inches from the finished floor and children’s hooks at 36 to 53 inches depending on age, spacing hooks 10 to 12 inches center-to-center for general daily use.12 Increase spacing to 15 inches for heavy winter coats that need airflow to dry in place.2 For any hook that will hold a loaded backpack, anchor into a wall stud: a #8 wood screw driven 1.5 inches into a pine or fir stud supports 80 to 100 pounds of shear weight.8
Key Takeaways
- Adult entryway hooks mount at 60 to 65 inches from the finished floor; children’s hooks range from 36 to 53 inches depending on age.1
- A loaded student backpack can weigh 20 to 30 pounds, which means children’s hooks need the same stud-mounted hardware as adult hooks do.3
- Space heavy-coat hooks 15 inches apart center-to-center so wet outerwear gets 360-degree airflow and dries without trapping moisture or odor.2
- A #8 wood screw into a pine or fir stud supports 80 to 100 pounds of shear weight, which covers any coat and backpack combination at a single hook point.8
- The ADA accessible-reach maximum of 48 inches is a practical benchmark for any mixed-ability household.5
What You Need Before You Start
- A stud finder (magnetic or electronic) or a long magnet for locating framing screws through drywall
- A tape measure and a pencil-level
- Paper and pencil to sketch the wall layout before drilling
- The listed weight capacity of any hook you are considering
- A list of every person who will use the zone and a rough estimate of what they carry
These planning steps complete the layout before the first hole is drilled. Time spent mapping the wall saves the cost of patching drywall that was over-loaded or positioned at the wrong height for the shortest user in the household.
Step 1: Map Your Traffic and the Load Each Hook Must Carry
Before measuring the wall or buying any hooks, list who uses the space, what they carry, and how heavy the daily load will be. The answers determine how much wall you need, which fastener type belongs behind each hook, and whether one height row is enough or two are needed.
Count the users. Every person needs at least 10 to 12 inches of horizontal wall for general daily gear at standard spacing.2 A family of four – two adults and two school-age children – needs roughly 40 to 50 inches of clear wall at standard hook spacing. More room is needed if coats must hang without pressing against each other or if the corridor doubles as a traffic lane.
Catalog the gear by weight. Winter jackets weigh 1 to 5 pounds each.7 A school backpack loaded with textbooks and a laptop can reach 20 to 30 pounds.3 Tote bags, dog leashes, purses, and umbrellas add more. A hook holding a coat and a backpack at the same time may carry 25 to 35 pounds in real daily use. That combined figure, not the hook’s finish, determines which fastener type goes into the wall behind it.
A drop zone is a dedicated wall section near an entry door where hooks, optional bench seating, and small storage combine to let every household member arrive and depart without leaving gear on the floor.
More households are treating the entryway as a planned system rather than a wall of hooks added one at a time.
| Item | Typical Weight | Hook Planning Note |
|---|---|---|
| Keys, leashes, light accessories | Under 1 lb | Any anchor type suitable |
| Winter jacket or heavy coat | 1 to 5 lbs7 | Standard anchor suitable; stud preferred |
| Backpack, lightly packed | 5 to 10 lbs | Toggle bolt or stud mount |
| Student backpack, fully loaded | 20 to 30 lbs3 | Stud mount required |
| Coat and loaded backpack combined | Up to 35 lbs | Stud mount required; 50% safety margin |
The most useful output from this step is a simple list: each household member, what they carry on a typical day, and a rough weight. Two minutes of estimation here prevents a fastener failure six months later.
Step 2: Locate Your Studs and Choose the Right Wall Backing
The hook carries the load on the surface; the fastener transfers that load into the wall structure behind it. For anything holding coats and backpacks, the fastener’s rated capacity must exceed the expected load with a 50% safety margin built in.8
How Residential Walls Are Framed
On center (o.c.) is the distance measured from the centerline of one framing member to the centerline of the next. In most U.S. residential construction, load-bearing and exterior wall studs run at 16 inches on center, and interior non-bearing walls sometimes use 24-inch spacing.6 That means a stud is almost always within 16 inches of any point on a typical interior entryway wall.
To find a stud, run a magnetic stud finder along the wall until it locks onto a drywall screw. Mark the centerline of each stud with a pencil. For a row of heavy-duty entryway hooks, every hook position should fall on a stud center whenever possible. When a preferred position falls between studs, install a horizontal backing board. A 1×6 or 2×6 piece of lumber lag-bolted to two studs creates a solid anchor surface across the full zone.
Anchor Types and Their Load Ratings
Shear load is the downward force a fastener must resist when weight pulls the screw or bolt toward the floor rather than straight out from the wall. When a heavy coat hangs from a hook, every pound of that coat becomes shear load on the fastener.
| Anchor Type | Approx. Shear Capacity | Best Use Case |
|---|---|---|
| Plastic expansion anchor | 10 to 15 lbs | Very light items: keys, small bags |
| Threaded drywall anchor | 25 to 50 lbs | Light coats, umbrellas, leashes |
| 1/8-inch toggle bolt (1/2-in. drywall) | 50+ lbs8 | Single heavy coats, medium bags |
| #8 wood screw, 1.5 in. into pine/fir stud | 80 to 100 lbs8 | Full daily load: coats and backpacks |
Apply the 50% safety margin rule: a hook expected to hold 30 pounds needs an anchor rated at 45 pounds or more under real working conditions.8 Children’s hooks consistently bear the heaviest loads in a family entryway because backpacks outweigh coats by a wide margin.
Step 3: Set Hook Heights for Every User in the Household
Hook height is the most visible planning decision in a drop zone. Too high, and children cannot reach; too low, and long coats drag on the floor or the bench below. All measurements below run from the finished floor surface to the center of the hook.
Adult Hook Height
The standard mounting height for adult coat hooks is 60 to 65 inches from the finished floor to the center of the hook.1 This range corresponds to average adult shoulder height when standing, which makes hanging and grabbing a natural arm motion. In households with taller adults wearing long coats, 66 to 72 inches keeps coat hems off the floor while the hook stays at comfortable reach.
The 60 to 65-inch zone is the right default unless specific users or coat lengths call for an adjustment. Most multi-hook rails and coat rack systems are designed around this band, so departing from it requires more custom planning.
Children’s Hook Heights by Age
Children need hooks at their own shoulder height, which changes quickly over just a few years. For young children ages 3 to 5, mount hooks at 36 to 42 inches from the floor.1 For school-age children ages 5 to 7, a hook at 49 inches from the floor puts the hanging point just above their reach when standing, making it easy to hook a backpack without tip-toeing.4 For children ages 7 to 9, raise the hook to 53 inches.4
The 2010 ADA Standards for Accessible Design offer a useful cross-check for any household where a user has limited reach or uses a wheelchair:
“Coat hooks provided within the room shall be located within one of the reach ranges specified in 308.”5
2010 ADA Standards for Accessible Design, Section 803.5, U.S. Department of Justice
The reach ranges in Section 308 cap the maximum forward reach at 48 inches above the finish floor.5 If any user in the household cannot comfortably reach above 48 inches, that number becomes the upper limit for hooks in their section of the drop zone.
Planning a Two-Row Drop Zone
A two-row layout, one adult row at 60 to 65 inches and one child row at 36 to 53 inches, is the most practical solution for a mixed-age household. Stagger the rows horizontally as well as vertically. Placing the child row directly below the adult row creates a crowded zone where a coat hanging from the upper hook covers the lower one.
One approach is to dedicate the wider portion of the wall to the adult section and the narrower end to the child section, each at its own height. This keeps both sections accessible without gear overlap and makes it clear which zone belongs to which user.
Step 4: Plan Horizontal Spacing and Zone Layout
Spacing determines whether coats and bags hang neatly or pile up. The right center-to-center distance depends on what each hook carries and how quickly items need to dry between uses.
Spacing for General Daily Use
For a general-purpose entryway used by adults and older children, 10 to 12 inches center-to-center is the standard spacing for coat hooks.2 This gives each coat or bag enough room to hang without touching its neighbor, and keeps the row within a manageable wall span. At 12-inch spacing, six hooks fit comfortably on a 60-inch wall section without looking crowded or cramped.
For lighter items – keys, leashes, and small pouches – 6-inch spacing is workable because those items have minimal bulk. Mixing light and heavy hooks on the same rail at inconsistent spacing creates visual clutter and makes it hard to grab items quickly. A dedicated light-item strip, below or beside the main coat row, keeps the zones distinct.
Spacing for Heavy or Wet Gear
For heavy winter coats that arrive wet, increase center-to-center spacing to 15 inches. At that distance, wet coats have 360-degree airflow, which speeds drying and prevents the musty odor that builds when damp wool or synthetic fill is pressed against adjacent fabric.2
A 15-inch spacing on a 60-inch wall fits four hooks, which is enough for a household of four adults wearing heavy outerwear. If school-age children in the same home carry shorter and narrower winter coats, those hooks can stay at 10 to 12 inches in their own section.
Traffic Flow and Zone Width
In a true mudroom or narrow entryway hallway, the zone must also fit the people moving through it. Allow 24 to 30 inches of clear walking width in front of the hooks so two people can enter at the same time without blocking each other.
Mark the total zone width on the wall with painter’s tape before buying hardware. If the wall is narrower than the spacing math requires, either reduce the hook count per zone or move the child section to a second adjacent wall. This check costs nothing and avoids drilling a row of holes that no longer aligns with the chosen hardware.
Spacing is the planning variable most often revised on-site. Confirming it before drilling makes the difference between a zone that installs cleanly in one afternoon and one that requires replanning mid-project.
Step 5: Choose Entryway Wall Hooks That Match the Load and the Space
Once the wall layout is marked, the final step is choosing a hook style and material that can handle the planned load every day without bending, rusting, or pulling away from the wall.
Single Hooks vs. Double Hooks
A single hook holds one item; a double hook holds two from a single mounting plate. For a heavy-duty entryway where one person hangs a coat and a bag in the same spot, a double hook doubles the capacity of each mounting point without adding an extra hole. Double hooks work particularly well for children’s zones, where a backpack and a jacket arrive together every school afternoon.
Hook geometry matters beyond the count. A longer, curved hook keeps bags from slipping off under load. A short peg-style hook works for keys and leashes but is not stable under a loaded backpack. Look for a hook projecting 2 to 3 inches from the wall surface to hold bulky items without tipping.
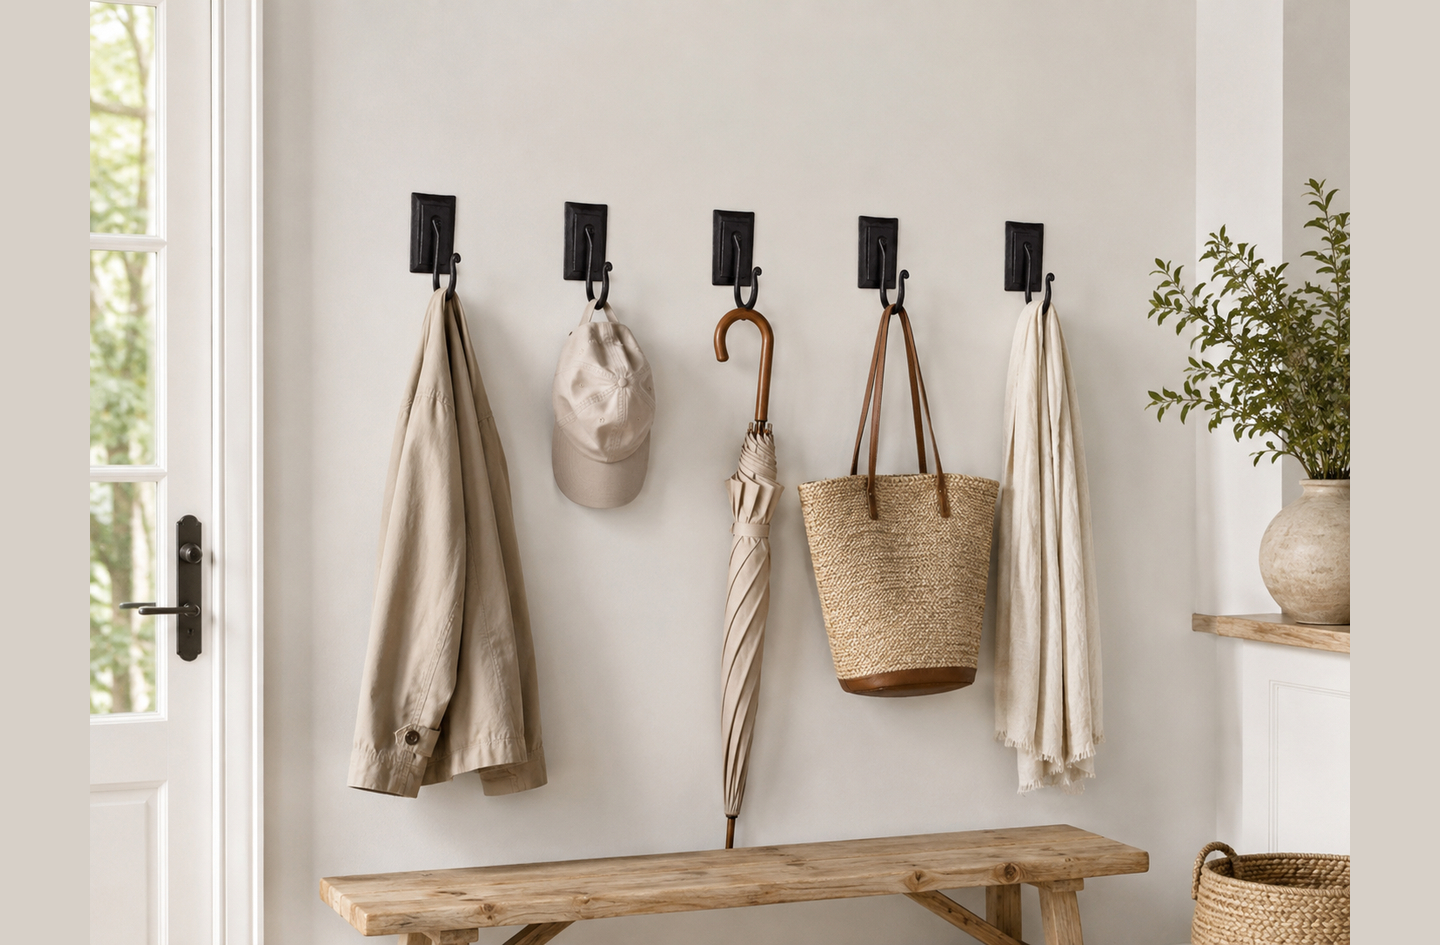
The double hammer-nail hooks carry a coat and a bag on two separate prongs from one mounting plate. That concentrates the full load at a single stud point rather than splitting it across two separate fixings – useful in tight entryways where the stud layout limits mounting options.
Individual Hooks vs. a Multi-Hook Rail
Individual hooks mounted at specific stud positions give precise control over height and spacing for mixed households. A multi-hook rail, like a 5-hook rack on a single horizontal bar, distributes the combined load across the full rail length with two or more mounting points, reducing the stress on any single fastener.
For a zone where all users are similar in height and carry similar loads, a rail system installs faster and looks cleaner. For a zone mixing adults and children at different heights, individual hooks are more flexible. Both approaches work well when fasteners go into studs and the hook material is solid-forged iron rather than stamped hollow metal.
Wrought iron hooks with a dual-layer finish – zinc galvanization plus powder coating – hold up to the daily friction of hanging and grabbing without rust or paint chipping. The classic hooks are hand-forged from solid iron and treated with an anti-rust finish, making them suited to entryways that see moisture from wet coats and rain gear throughout the season. For more on how wrought iron construction differs from stamped alternatives, the article on wrought iron wall hooks covers material and finish differences in detail.
The deciding factor between a rail and individual hooks is usually the height mix in the household. When two or more heights are needed in the same zone, individual hooks mounted at different heights give each user the right position without compromise.
Common Planning Mistakes to Avoid
Most entryway hook problems trace back to decisions made during planning, not installation. These four mistakes appear often enough to be worth naming before any holes are drilled.
Setting Adult Hooks Too Low
Hooks mounted at 48 to 54 inches feel accessible during planning but result in long coats and bags dragging on the bench below. The ADA 48-inch reach maximum is an accessibility standard for users with limited reach – not a comfortable hanging height for standing adults. Adult hooks belong at 60 to 65 inches unless specific user needs call for lower.1
Using Light Anchors Behind Children’s Hooks
Children’s hooks look lower-stakes because they mount at knee height for an adult. In practice, they carry the heaviest loads in a family entryway. A student backpack at 20 to 30 pounds on a plastic expansion anchor rated at 10 to 15 pounds is a failure waiting to happen.3 Children’s hooks need the same stud-mounted hardware as adult hooks, or better.
Spacing Heavy-Coat Hooks Too Closely
Hooks at 8 inches apart look organized when empty. When four wet winter coats hang from them, the coats overlap, trap moisture, and develop odor. The zone also becomes difficult to use because pulling one coat free disturbs three others. Space heavy-coat hooks at 15 inches and the zone stays functional all season.2
Buying Hardware Before Confirming Stud Positions
A set of three hooks bought to fill a 30-inch wall span may land squarely between two studs, forcing a toggle-bolt installation where stud mounting was the plan. Locate studs first, record their positions on paper, and then choose hooks whose mounting holes can reach those stud centers. This takes five minutes and avoids a day of wall patching.
A Well-Built Drop Zone Works Every Day
If the planning above is complete, you should have a wall marked with stud centers, hook positions at the right height for each user, and spacing confirmed to fit the actual gear load. A correctly planned entryway hook zone handles daily arrivals without fallen hooks and without gear ending up on the floor.
Install the hooks at the marked positions, anchor into studs wherever the load exceeds what a toggle bolt can reliably hold, and verify that each hook’s mounting hardware reaches the framing behind the drywall. Built with solid-iron hooks and correct height and spacing, a planned drop zone handles daily use for years without adjustment.
For organizing heavy equipment in a utility space, the guide to heavy-duty garage hooks covers load distribution and layout for ladders, tools, and bikes.
Frequently Asked Questions
How high should entryway coat hooks be?
Standard adult coat hooks mount at 60 to 65 inches from the finished floor to the center of the hook.1 Children need lower positions: 36 to 42 inches for ages 3 to 5, 49 inches for ages 5 to 7, and 53 inches for ages 7 to 9.4 For any user who cannot reach above 48 inches, the ADA accessible-reach maximum sets the upper limit for hooks in their section.5
How far apart should mudroom hooks for coats and backpacks be spaced?
For general daily use with coats and bags, space hooks 10 to 12 inches center-to-center.2 For heavy winter coats that arrive wet, increase spacing to 15 inches to allow 360-degree airflow so coats dry without trapping moisture or odor.2 Light-use hooks for keys and leashes can sit as close as 6 inches apart.
How much weight can wall-mounted coat hooks hold?
Load capacity depends on the fastener behind the hook. A #8 wood screw driven 1.5 inches into a pine or fir stud supports 80 to 100 pounds of shear weight, and a 1/8-inch toggle bolt in 1/2-inch drywall supports over 50 pounds.8 Always build in a 50% safety margin: a hook expected to hold 30 pounds needs an anchor rated at 45 pounds or more.8
Should I use individual hooks or a multi-hook coat rack for an entryway?
Individual hooks are better for mixed-age households that need hooks at different heights for adults and children. A multi-hook rail on a single horizontal bar works better when all users are similar in height, since the rail distributes the combined load across two or more mounting points and installs faster. Both options hold up well when anchored into wall studs with hardware rated above the expected load.
What if my preferred hook positions do not land on a stud?
Install a horizontal backing board: a 1×6 or 2×6 piece of lumber lag-bolted to two existing studs creates a solid anchor surface across the full zone width, letting you place hooks anywhere along it. Where a backing board is not practical, use 1/8-inch toggle bolts rated over 50 pounds per fastener and keep the 50% safety margin in your load calculation.8
Limitations and Edge Cases
- This guide covers the planning phase only: hook height, spacing, wall backing, and user-mix decisions. Installation steps such as drilling, leveling, and patching are outside the scope of this article.
- Height figures are based on U.S. residential conventions and the 2010 ADA Standards; regional building codes and older home framing may vary from the stud-spacing figures cited.
- For utility spaces organizing ladders, bikes, hoses, and heavy tools, load requirements and zone layout differ significantly. The guide to heavy-duty garage hooks covers that application.
References
Methodology: every figure in this article comes from an independent published source linked below; the article was reviewed by Rami Abramson, co-founder of RTZEN.
- Entryway Storage – Coat Hook Height: 60-65 Inch Standard + Chart [2026], August 2026.
- Entryway Storage – How Far Apart Should Coat Hooks Be? 10-12 Inch Rule, Linda Wise, February 2026.
- Mayfield Brain & Spine – Know Your Child’s Backpack Limits for Optimal Spine Health, Marc Orlando MD and Jenna Till DPT, July 2019.
- HangSafe Hooks – What Height Should Safety Coat Hooks Be Installed?, January 2021.
- Corada (2010 ADA Standards) – Section 803.5: Coat Hooks and Shelves, U.S. Department of Justice, effective 2010.
- Civils.ai – Stud Spacing Requirements: Essential Guidelines for Construction Professionals, citing IRC/IBC residential framing standards.
- Pologeorgis – How Much Should a Winter Jacket Weigh?, February 2025.
- American Wood Council – Connection Calculator (NDS Lateral Design Values for Wood Screws and Nails), American Wood Council, 2026.
Conclusion
A well-planned entryway drop zone fits every household member at the right height and holds everything they carry without strain on the wall or the hardware. These five planning steps cover load mapping, wall backing, user heights, hook spacing, and hardware selection. Together they give you a complete layout before a single hole is drilled.
For the full context on choosing and mounting these hooks, see the overview of heavy-duty wall hooks for how each planning decision connects to the broader installation picture.