
Knowing how to install towel bar brackets correctly requires four decisions: where to place the bar, what fasteners your wall needs, and how to keep both brackets level. The last decision is how to drive the final screws without damaging the surface. Standard bath towel bars mount with the bar center at 48 inches above the floor,1 though accessible and hand-towel installations use different heights. This guide walks through the complete process, from marking bracket heights to tightening the end fittings. For context on bar styles, the towel racks and hangers overview covers the wider category.
Quick Answer
What is the standard height and process for how to install towel bar hardware on a wall?
Standard bath towel bars mount with the bar center at 48 inches from the floor.1 Mark both bracket positions at that height, confirm alignment with a bubble level, then drill pilot holes for your wall type. Set the correct anchor for the material, drive screws through the bracket mounting holes, slide the bar into its bracket slots, and tighten the set screw on each end fitting.
Key Takeaways
- Standard bath towel bars mount with the bar center at 48 inches from the floor; ADA-accessible grab bars install between 33 and 36 inches.2
- Residential wall studs are typically spaced 16 inches on center;3 a bracket landing on a stud needs no anchor at all.
- Wall material determines the fastener: included drywall anchors work on hollow drywall, but concrete, brick, and tile each require different drill bits and fasteners.
How to Install Towel Bar Hardware: What You Need First
Gather the following before touching the wall. Stopping mid-installation to find a missing tool is where most brackets end up mounted crooked.
Tools you need:
- Pencil
- Tape measure
- Torpedo level or 4-foot level
- Drill with bits sized for your wall type (see Step 4)
- Phillips or hex driver for the set screws
- Stud finder (optional but useful)
- Painter’s tape for marking on tile
Dimensions to know before you mark:
- Bar mounting height: 48 inches from floor to bar center is the industry standard for bath towels.1
- Bracket spacing: The distance between the two mounting brackets comes pre-set by the bar’s length. Measure center to center of the bar’s bracket slots before marking the wall.
- Bar length vs. towel width: A standard bath towel is 28 inches wide. A 24-inch bar lets towels hang folded in thirds; a bar longer than 28 inches lets full-width towels hang flat and dry faster.
Estimated time: Drywall over studs finishes fastest. Tile over cement board or masonry takes significantly longer due to bit changes and slower drilling speeds.
Difficulty: Beginner to intermediate. Drywall over wood framing is beginner-level. Concrete, tile, or plaster requires more care with drill bits and anchor selection.
What the included hardware covers: Most wall-mounted towel bars include matching screws and drywall anchors. Those anchors are sized for hollow drywall. If your wall is concrete, brick, tile, or plaster, you need different fasteners. Keep the included hardware but supplement it for harder substrates.
Step 1: Choose a Height and Mark the First Bracket
By the end of this step, you will have a single pencil mark on the wall at the exact center point of your first bracket hole.
The 48-inch standard puts a bath towel at a comfortable reach for most adults. For a hand towel hanger installed beside a sink, 36 to 40 inches works better. For a children’s bathroom, 36 to 38 inches keeps towels within reach without a stretch.
Measure from the finished floor, not the subfloor
Hold the tape measure against the wall and measure up from the floor surface, not from a baseboard or a tile edge. If you measure from the top of a thick tile base, your bar will sit higher than intended. Make a light pencil mark at your target height. That mark is the bracket center, not the top of the bracket or the bottom of the bar.
Decide which side to start from
Choose one end bracket and mark its center position: the height you measured, at the horizontal distance from the wall corner or nearest fixture where you want the bar to start. Write the bracket center-to-center measurement on a piece of tape and stick it to the wall beside the mark. You will use this number when placing the second bracket in Step 3.
Account for the towel bar’s bracket offset
Most wrought iron towel bars attach to the wall through mounting holes in the back of each bracket plate. The bracket plate sits flat on the wall, and the bar projects outward from two to four inches. The screw holes are what you are marking, not the front of the bar. On most bars, the screw hole sits at the center of the bracket plate. Check the bar’s mounting hardware before marking so you know exactly where the screw will go.
Step 2: Locate Studs and Identify Your Wall Material
This step determines your entire fastener strategy. Getting the wall type wrong means the bar will pull out of the wall under load.
Stud location: In US residential construction, wall studs are typically spaced 16 inches on center,3 though older homes and some non-load-bearing interior walls use 24-inch spacing. Run a stud finder across the wall at bracket height and mark any stud edges with tape. If a bracket position lands within a stud, you do not need an anchor: drive the screw directly into the wood at a pilot hole sized for the screw shank.
Identifying drywall
Drywall is a rigid panel made from gypsum plaster sandwiched between two layers of paper, used to form interior wall surfaces in most US homes built after 1950. When you knock on drywall, you hear a hollow sound in the gaps between studs and a dull thud over a stud. Standard drywall is 1/2 inch thick. It accepts standard drywall anchors and toggle bolts without pre-drilling in most cases.
Identifying tile over cement board
In bathrooms, tile often covers a cement backer board rather than drywall. The wall sounds dense when tapped, and you see grout lines. Drilling through tile requires a diamond-tipped bit to avoid cracking the glaze. Once through the tile, the underlying substrate determines the anchor. This substrate is usually cement board, which holds a concrete screw well without a toggle.
Identifying concrete or masonry
Exterior-facing walls or basement walls are often concrete block or poured concrete. These walls sound completely solid when tapped and produce a fine gray dust when drilled. Concrete requires a carbide-tipped masonry bit and either a concrete screw (Tapcon-style) or a concrete anchor sleeve.
Identifying plaster
Homes built before 1950 often have plaster walls: a dense, rigid surface that sounds solid when tapped but is not structural masonry. Standard drywall anchors strip out of plaster. Use toggle bolts or specialized hard-wall anchors rated for plaster. Drill slowly to avoid cracking the surface layer.
Understanding your wall type also determines whether the bar’s included hardware is sufficient or whether you need to buy separate fasteners before proceeding.
Step 3: Transfer the Height and Confirm Both Brackets Are Level
By the end of this step, you have two pencil marks on the wall at the same height. They are spaced exactly as far apart as the bar’s bracket centers, with level confirmed across both points.
Hold your level horizontally against the wall with one end touching the first bracket mark. Adjust until the bubble sits between the lines, then slide the level to position the second mark. Mark the second bracket center at the correct horizontal distance from the first.
Measure bracket spacing from the bar itself
Do not guess or approximate the bracket center-to-center distance. Lay the towel bar on a flat surface and measure from the center of one bracket slot to the center of the other. Use that exact number on the wall. A 1/4-inch error in bracket spacing means the bar will not slide cleanly into both slots, and forcing it cracks the bar’s finish or bends the bracket arm.
Double-check level before marking
Place the level across both pencil marks after making the second one. The bubble should still sit centered. If it drifts, the surface you measured along was not flat, or the level shifted. Erase and re-mark before drilling. A bar installed even 1/8 inch out of level is visible from across the room.
Mark the screw hole positions precisely
Each bracket has one or two screw holes. Hold the bracket against the wall with its center aligned on your pencil mark, then use a pencil through each hole to mark the exact screw locations. These marks are what you drill. Remove the bracket and confirm the marks are where you want them before proceeding.
Step 4: Drill Pilot Holes for Your Wall Type
This step differs completely depending on wall material. Using the wrong bit or skipping the pilot hole on masonry splits the anchor and the wall.
The correct pilot hole size depends on the anchor you are using, not the screw. The anchor’s packaging states the required bit diameter. For concrete screws in the Tapcon family, a 3/16-inch screw requires a 5/32-inch masonry bit and a 1/4-inch screw requires a 3/16-inch bit.5
Drywall with no stud behind it
Most drywall anchors are self-drilling: you push or tap them directly into the drywall without pre-drilling. Threaded plastic anchors and toggle bolt sleeves work this way. If the anchor instructions specify a pilot hole, use a 3/16-inch standard twist bit and drill only through the drywall face, not into empty space behind it. Keep the drill perpendicular to the wall so the anchor seats straight.
A pilot hole is a narrow guide hole drilled before the main fastener to control the drill path and prevent surrounding material from cracking. Sizing it to the anchor or screw shank, not the thread outer diameter, gives the fastener proper grip.
Wood stud
Drill a pilot hole slightly smaller than the screw shank diameter, typically 3/32 inch for a #8 wood screw, straight through the drywall and about 1.5 inches into the stud. No anchor needed. Drive the screw by hand or with a driver set to medium torque. Overtightening a screw into a stud strips the wood and weakens the connection.
Tile over cement board
Apply a strip of painter’s tape across the drill mark to prevent the bit from skidding on the glazed tile surface. Use a diamond-tipped drill bit rated for porcelain or ceramic. Start at the lowest drill speed with firm, steady pressure. Do not use a hammer setting on tile or the tile will crack. Once through the tile, switch to a regular masonry bit to finish the pilot hole in the cement board below.
Concrete or masonry
Use a carbide-tipped masonry bit sized for your concrete screw (see dimensions above). Set the drill to hammer mode and apply steady forward pressure. Blow dust out of the hole with a puff of air before inserting the anchor. Concrete screws cut their own threads as they drive, so the hole depth must match the screw length or the anchor will bottom out before the bracket is tight.
Step 5: Set Anchors and Fasten the Brackets
By the end of this step, both brackets are flush against the wall with the mounting screws tightened to firm resistance.
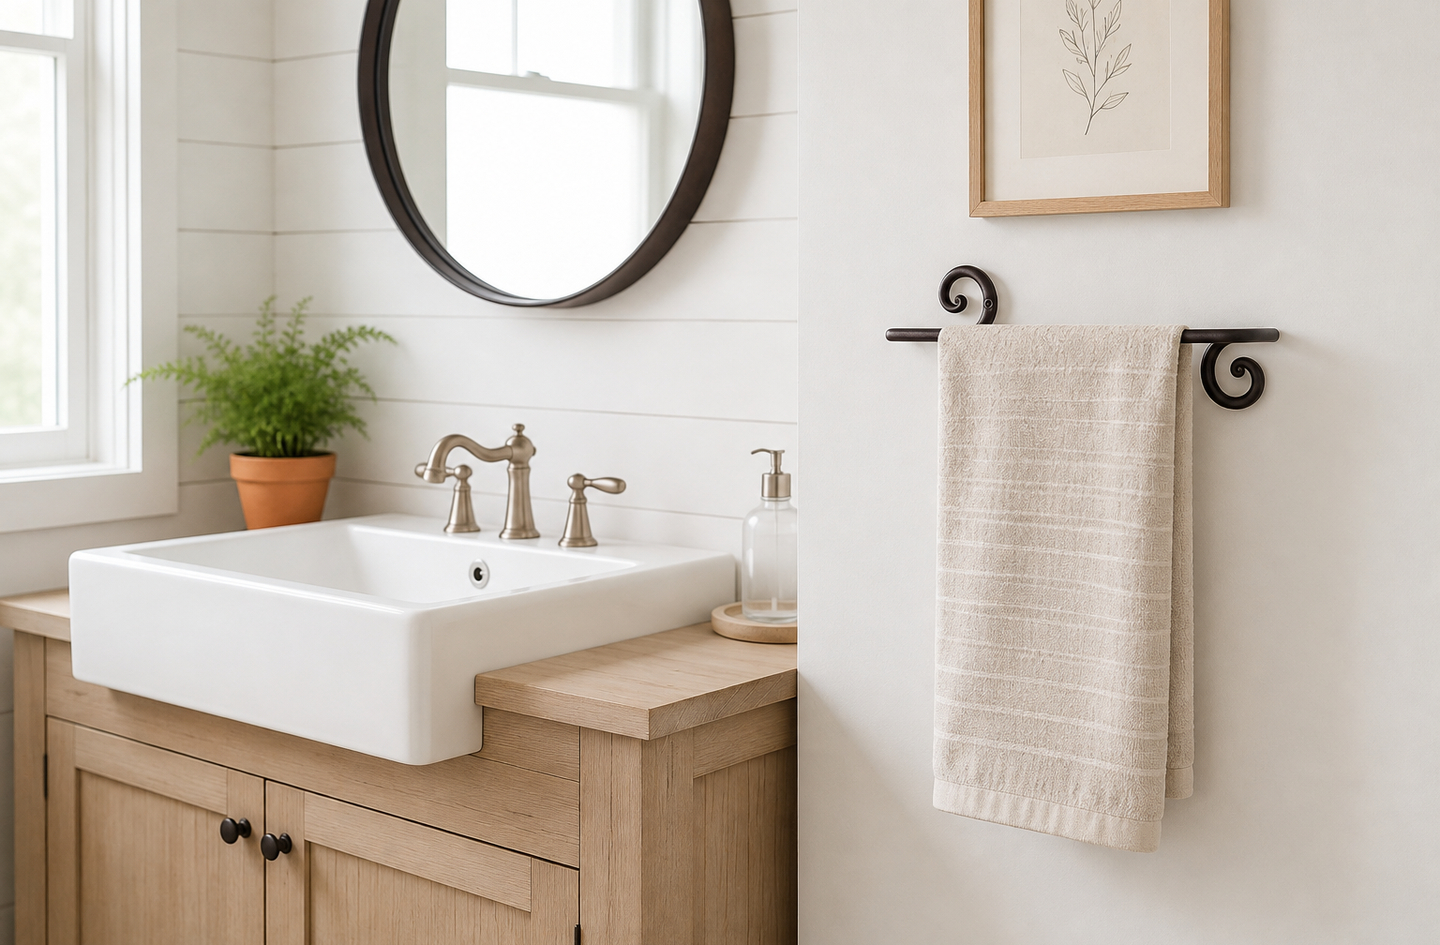
Anchor selection depends on what is behind your drywall. Pull-out strength varies by anchor type.4 Plastic expansion anchors hold around 25 lb; threaded wall anchors reach roughly 75 lb; and toggle bolts test at 100 to 200 lb in half-inch drywall. A standard wrought iron towel bar loaded with wet bath towels puts fewer than 15 lb of downward force on both brackets combined. A threaded wall anchor handles that load with substantial safety margin, and a toggle bolt even more so. The Swirls Long bar, for example, includes matching screws and drywall anchors sized for its bracket hole diameter.
Setting a threaded wall anchor
Push the anchor into the pilot hole flush with the wall surface. Thread it in with a Phillips driver until the anchor flange sits flat against the drywall. Drive the included screw through the bracket mounting hole and into the anchor until the bracket is snug against the wall. Do not strip the anchor by overtightening: stop when resistance firms up.
Setting a toggle bolt
A toggle bolt is a wall fastener with spring-loaded wings that expand behind the drywall to distribute the load across a wider area than the hole itself. Fold the wings flat, push the bolt through the bracket hole, then push the folded assembly through the drilled wall hole. The wings spring open inside the wall cavity. Pull the bolt toward you firmly to seat the wings against the back of the drywall, then turn the screw clockwise to tighten the bracket.
Driving screws into a stud
Place the bracket over the stud location with the pilot hole aligned. Drive the screw directly into the wood. Use a driver at medium torque or a hand screwdriver for the last few turns. The bracket should sit completely flush. If the bracket rocks or does not sit flat, the screw is not going in straight: remove it, re-drill the pilot hole perpendicular to the wall, and try again.
Check each bracket for wobble before proceeding
Grip each bracket with your hand and try to twist or pull it. A correctly set anchor or stud screw will feel solid with zero movement. A bracket that wobbles even slightly will loosen further over months of daily use. Pull out and reinstall with a larger anchor or move to the nearest stud.
Step 6: Mount the Bar and Secure the End Fittings
By the end of this step, the towel bar sits level and stationary on the wall with both end fittings locked.
Slide the bar into the brackets
Most wall-mounted towel bars use a post-and-slot design: a round post on each end of the bar inserts into a slot or cup in the bracket. Angle the bar slightly and insert one post into one bracket slot, then align the second post and lower the bar into the second slot. The bar should drop in with moderate pressure. If it resists, the brackets are either not level or slightly too close or too far apart. Loosen one bracket slightly and adjust before forcing the bar.
Center the bar between the two brackets
Slide the bar left or right until equal lengths of post sit inside each bracket. This centering determines whether the bar looks balanced. On most models, the post has a set-screw hole: a small countersunk dimple or threaded hole on the underside of the end fitting. Align this hole with the access hole on the bracket arm before tightening.
Tighten the set screws
Use the hex key or Phillips screwdriver that came with the bar to tighten the set screw inside each bracket arm. Turn clockwise until firm: the screw should bite into the bar post dimple, preventing the bar from rotating or sliding out. Do not overtighten a small hex set screw in wrought iron: apply firm hand pressure and stop. The connection does not need to be torqued down; it needs to be snug enough so the bar does not spin in the brackets.
Final check
Hang a towel and pull down gently from the center of the bar. Neither the bar nor the brackets should shift. Step back and sight along the bar from the side: the bar should sit parallel to the floor, not tilted. If you detect a slight tilt, the fix is simpler than redrilling: most bar posts allow a small rotational adjustment before the set screw locks them.
Common Towel Bar Installation Mistakes
Most failed towel bar installations fail at one of four points.
Skipping the level check between brackets
The mistake: Measuring both brackets from the floor individually rather than using a level to transfer the height horizontally between them. The cause: assuming the floor is level, which it almost never is in older homes. The fix: Always use a level to transfer the first mark to the second position, not a second tape measure from the floor.
Using the included drywall anchor in a non-drywall surface
The mistake: Driving a standard drywall anchor into concrete, tile, or plaster. The anchor either strips out immediately or does not seat at all. The cause: assuming all included hardware is universal. The fix: Identify the wall material before touching the drill and select the correct anchor for the substrate. The included anchors work on drywall; everything else needs a different fastener.
Overtightening screws in hollow-wall anchors
The mistake: Continuing to drive the screw after the bracket seats, compressing the anchor until it pulls through the drywall face. The cause: over-relying on torque to make a weak connection feel solid. The fix: Stop tightening the moment resistance firms up. If the bracket still wobbles at that point, the anchor is too small for the load: upgrade to a larger toggle bolt rather than adding torque.
Measuring bracket spacing incorrectly
The mistake: Using the bar’s overall length instead of the center-to-center distance between the two bracket slots. These numbers differ on every model. The fix: Lay the bar flat, measure the center-to-center distance between the two mounting points, and use that number when marking the wall. On wrought iron bars, measure from the center of the bracket back plate on each side, not from the outer edges of the decorative mounts.
Drilling into tile with a standard bit
The mistake: Using a standard twist bit on glazed ceramic or porcelain tile. The bit skids across the glaze and cracks the tile on contact. The fix: Use a diamond-tipped bit at low speed with a strip of painter’s tape over the mark to prevent bit slip. A cracked tile in a tiled bathroom wall requires a professional repair to match grout and finish.
Frequently Asked Questions
What height should I mount a towel bar?
The standard height for a full-size bath towel bar is 48 inches from the floor to the bar center.1 Hand towel bars beside a sink work best at 36 to 40 inches. ADA-accessible installations for grab bars require a height of 33 to 36 inches.2 These heights are guidelines, not building code for residential decorative bars, so adjusting for the household’s height range is reasonable.
Do I need to hit a stud to mount a towel bar?
No. A correctly sized drywall anchor holds a towel bar without a stud. Threaded wall anchors handle up to 75 lb and toggle bolts hold 100 to 200 lb in standard half-inch drywall,4 far above the load a towel bar carries. Studs are preferred in very humid rooms where repeated moisture cycling weakens drywall around anchor points over years.
What drill bit do I use for tile?
Use a diamond-tipped drill bit rated for porcelain or ceramic tile. Start at the lowest drill speed with firm, steady pressure and do not use the hammer setting. Apply painter’s tape over the mark before drilling to stop the bit from skating across the glaze. Once through the tile face, switch to a standard masonry bit to finish the pilot hole in the substrate below.
How do I keep both brackets level with each other?
Mark the first bracket position, then hold a bubble level horizontally against the wall with one end at the first mark. When the bubble centers, slide the level outward to the second bracket position and mark there. Do not measure both brackets independently from the floor: floors in residential construction are rarely perfectly level, so two separate floor measurements will produce two points at different heights.
What if my wall is plaster instead of drywall?
Standard drywall anchors do not hold in plaster walls, which are denser and have a different failure mode. Use toggle bolts, which expand behind the plaster layer regardless of substrate density, or hard-wall picture-hook anchors rated for plaster. Drill slowly with a masonry bit to avoid cracking the plaster surface. Do not use a hammer drill setting on historic plaster walls.
Limitations and Edge Cases
- These steps cover standard flat interior walls. Angled walls, rounded corners, or walls behind a shower pan require custom bracket placement not addressed here.
- Anchor strength figures are from testing in standard 1/2-inch drywall.4 Thinner drywall, damaged drywall, or walls with hollow spaces larger than expected reduce anchor pull-out capacity.
- ADA grab-bar requirements apply to accessible-design applications, not to standard decorative towel bars. For grab-bar installation that must meet ADA Standards, consult the U.S. Access Board guidelines directly.
References
Methodology: every figure below comes from an independent published source and links to the page carrying it; this article is reviewed by Rami Abramson, co-founder and CEO of RTZEN.
- Bob Vila – What Height Should a Towel Bar Be? A Guide to Placement, Bob Vila editorial team, 2024.
- U.S. Access Board – A Guide to the ADA Standards: Bathing Facilities, U.S. Access Board, 2020.
- Civils.ai – Stud Spacing Requirements: Building Code Standards for Residential Construction, Civils.ai editorial team, 2025.
- Family Handyman – We Tested 16 Drywall Anchors to Find the Best, Family Handyman product testing team, 2025.
- Eugene Fastener – Concrete Anchor Drill Bit Chart: Tapcon and Concrete Screw Sizing, Eugene Fastener, 2024.
Conclusion
A correctly installed towel bar holds reliably for years with no maintenance. The two steps where most installations fail are the level transfer between brackets and the anchor selection for the actual wall substrate. Get those two right, and the rest is straightforward hardware.
For help choosing the bar style and dimensions before you start, see the overview in towel racks and hangers for context on wall-mounted bar types and what to look for in each.